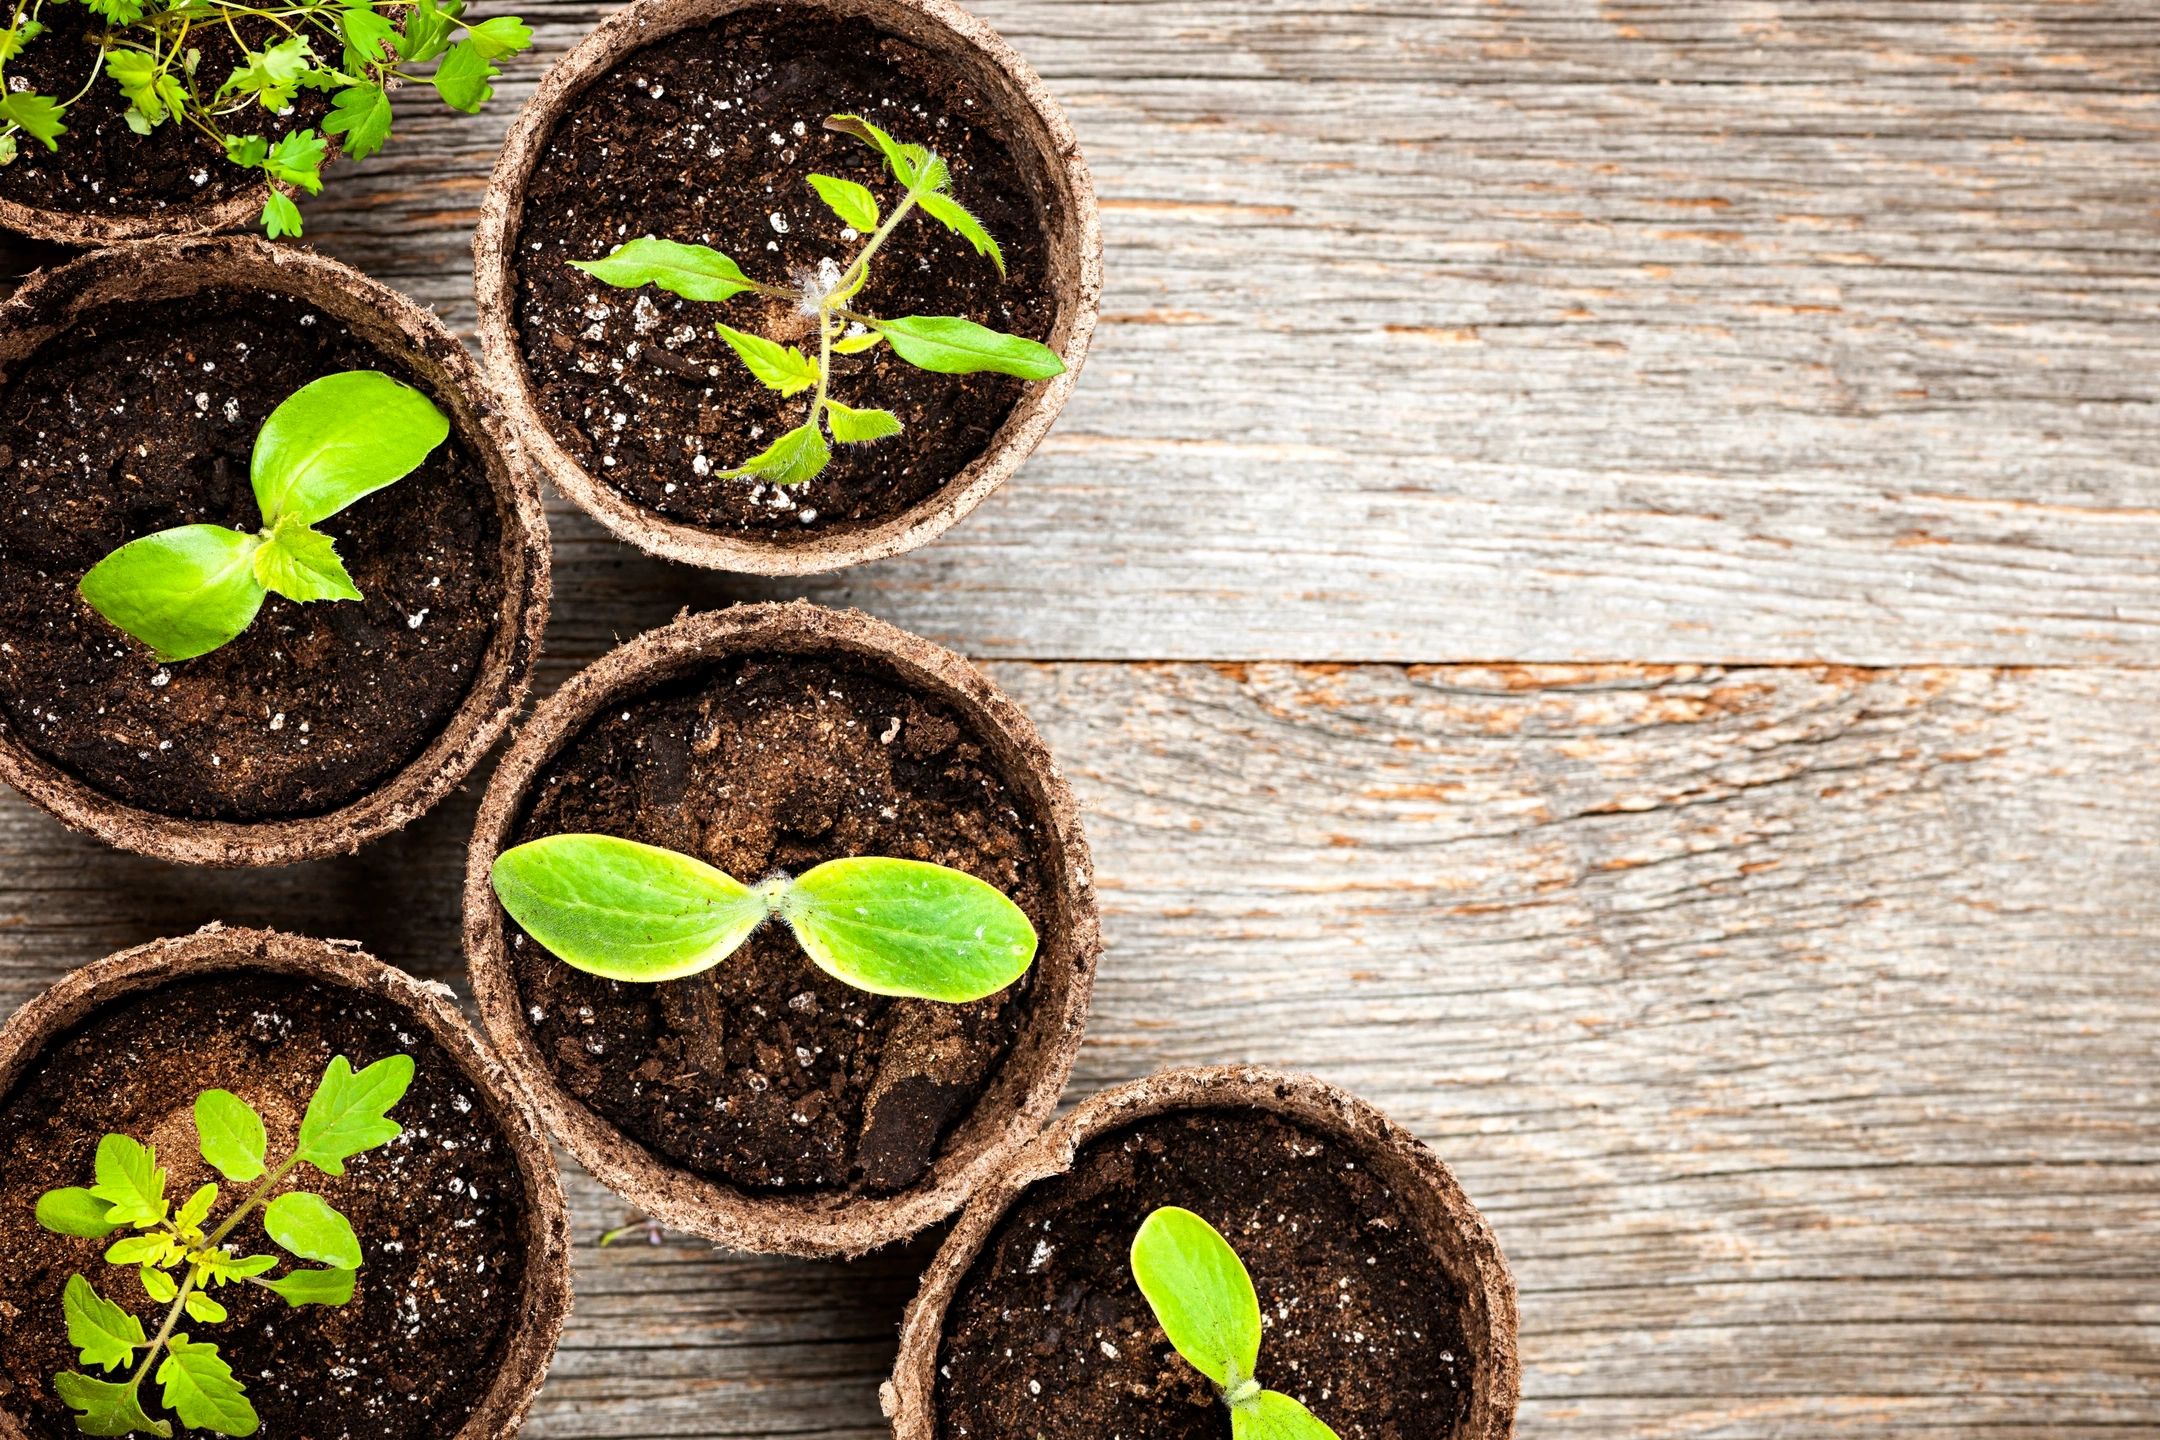
Starting seeds indoors is a rewarding way to kickstart your vegetable or flower garden, giving you a head start on the growing season. Whether you’re a beginner or a seasoned gardener, this comprehensive guide covers everything you need to know about indoor seed starting, from timing and materials to care and transplanting. Let’s dive into the essentials for success!
When to Start Seeds Indoors
Timing is critical for indoor seed starting. The goal is to have healthy seedlings ready to transplant outdoors after the last frost date. For most regions, the average last frost date is around May 15, so you’ll want to start seeds 6-8 weeks prior, between March 20 and April 5. However, some plants require an earlier start:
- Peppers and eggplant: Begin February 25 to March 5 for their longer germination period.
- Begonias and impatiens: Start as early as February 1 for vibrant blooms.
Not all seeds need indoor starting. Crops like squash, corn, peas, beans, beets, carrots, and radishes thrive when planted directly outdoors, saving you time and effort.
Pro Tip: Check your local frost dates and seed packet instructions to fine-tune your schedule.
Choosing the Right Seed Starting Medium
A high-quality seed starting medium sets the foundation for healthy seedlings. Opt for a sterile, fine, and loosely packed mix to promote germination and root growth. For best results, use a soil-less seed starting mix made of peat, vermiculite, or perlite. These mixes ensure proper drainage and aeration, preventing issues like damping-off disease.
Avoid using garden soil, as it can compact and harbor pathogens that harm young seedlings.
Selecting the Perfect Containers
Your choice of container impacts seedling health. Here’s what to consider:
- Use clean, shallow containers or trays with drainage holes to prevent waterlogging.
- Peat pellets are a convenient alternative, expanding when watered and reducing transplant shock.
- Cover containers with a humidity dome or plastic wrap until seeds sprout to maintain moisture.
Temperature for Seed Germination
Most seeds germinate best between 70-75°F, though some, like peppers, prefer closer to 80°F. To maintain consistent warmth:
- Place trays on a heating mat designed for seed starting.
- Monitor temperatures with a thermometer to avoid overheating.
Once seeds sprout, you can gradually reduce heat to encourage sturdy growth.
Lighting for Healthy Seedlings
Light is crucial for strong seedlings. A south-facing window providing 6-8 hours of direct sunlight works well. Supplemental lighting, however, ensures consistent results:
- Use grow lights positioned 2-4 inches above seedlings.
- Provide 12-16 hours of light daily to mimic natural conditions.
Adjust the light height as plants grow to prevent leggy seedlings.
How to Plant Seeds Indoors
Follow these steps for successful seed starting:
- Fill containers: Use dry soil-less mix, lightly tamping it down.
- Plant seeds: Sow at a depth equal to the seed’s size (e.g., small seeds like lettuce need shallow planting). Check seed packets for specific depth and spacing instructions.
- Cover lightly: Some seeds require light to germinate, so avoid burying them too deep.
Watering Your Seeds
Proper watering keeps seeds healthy without drowning them:
- Keep the medium moist but not soggy.
- Use a misting bottle or a sprinkling can with a fine spray to avoid displacing seeds.
- Ensure trays don’t sit in standing water, as this can cause root rot.
Once seedlings emerge, water from the bottom to encourage deep root growth.
Growing On: Caring for Seedlings
After germination, seedlings need extra care to thrive:
- Post-germination: Once seedlings develop their first true leaves (not the initial seed leaves), reduce or remove heat to promote sturdy growth.
- Thinning: If multiple seedlings sprout in one cell, snip the weakest ones to avoid overcrowding.
- Fertilizing: Use a diluted liquid fertilizer once true leaves appear to support growth.
Hardening Off Seedlings
Before transplanting outdoors, seedlings need to acclimate to outdoor conditions through a process called hardening off:
- Start 1-2 weeks before transplanting.
- Place seedlings outside in a shaded, sheltered spot for a few hours daily, gradually increasing exposure to sun and wind.
- By the end, seedlings should tolerate full outdoor conditions.
This step prevents shock and ensures your plants thrive in the garden.
Why Start Seeds Indoors?
Starting seeds indoors offers multiple benefits:
- Extended growing season: Get a jumpstart on spring planting.
- Cost savings: Grow unique or heirloom varieties for less than buying transplants.
- Control: Ensure organic, healthy plants from the start.
With the right tools and techniques, you’ll enjoy a bountiful garden filled with your favorite vegetables and flowers.
Final Thoughts
Indoor seed starting is an easy, exciting way to launch your dream vegetable or flower garden. At Boyert’s, we have everything you need to start your own seeds for this growing season. Stop by our shop to pick up seeds, trays, seed-starting mix, and more! We also host indoor seed starting workshops, you can boost your skills and grow robust seedlings that thrive outdoors. Checkout our upcoming events to see when the next one is!
Stop by Boyert’s Greenhouse and Farm to grab top-quality seed starting gear, ensuring you have the right timing and tools to sow the seeds of a bountiful season! Happy Gardening!


Leave a Reply